Why Understanding the Colosseum’s History Changes Your Visit
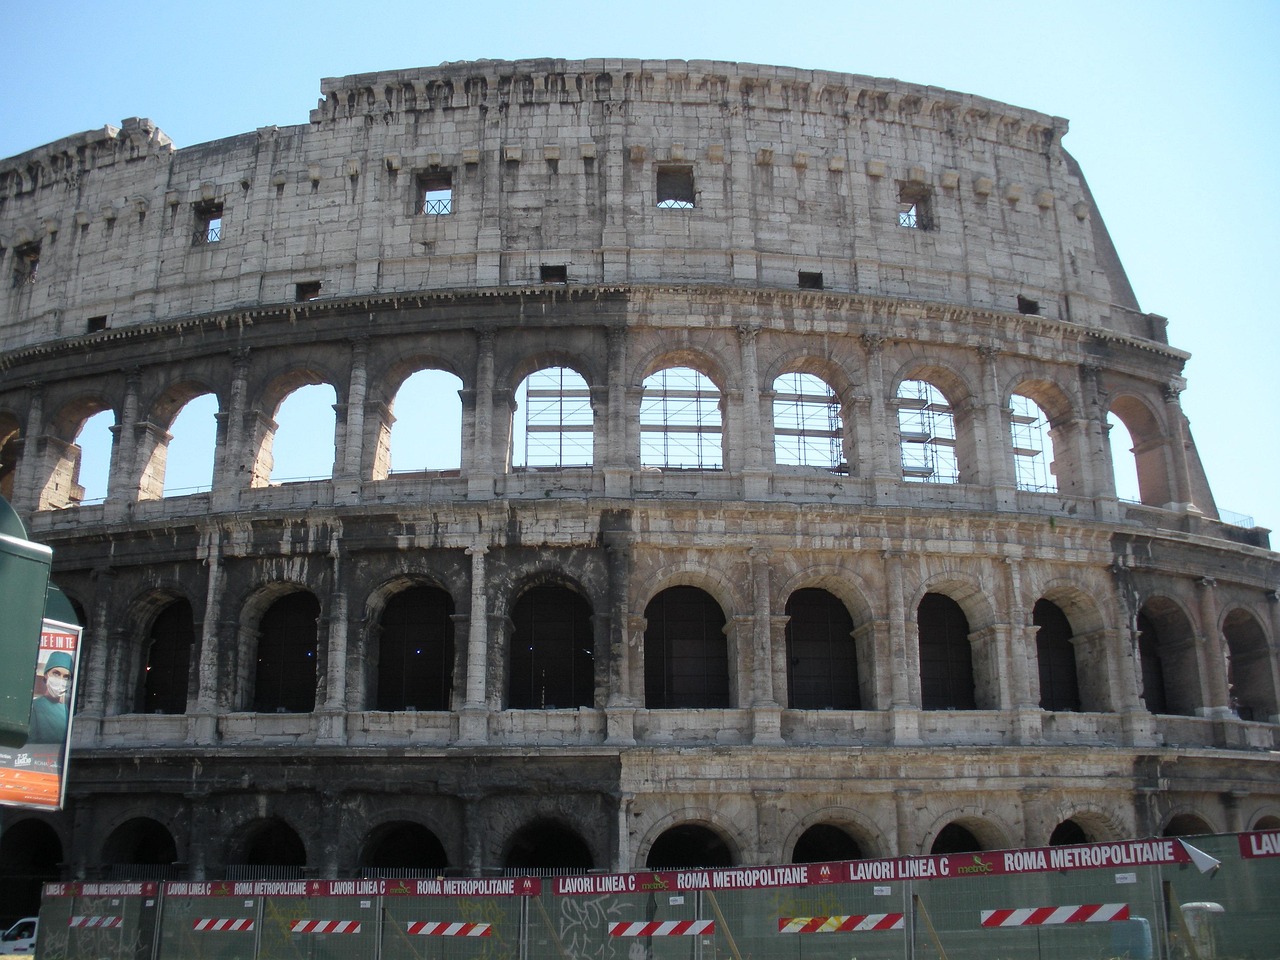
Walking into the Colosseum without knowing its history is like reading the last page of a novel first. You see the bones, but you miss the story. This isn’t just a pile of old rocks—it’s a functional masterpiece of ancient engineering that held 50,000 people and ran some of the most complex spectacles the world had ever seen. Understanding the colosseum rome history transforms your visit from a quick photo stop into a genuinely memorable experience. You’ll notice the clever drainage systems that cleared the arena floor after a mock naval battle. You’ll appreciate the sheer logistics of the hypogeum—the underground complex that powered the shows. And you’ll make smarter decisions about which ticket to buy, what time to go, and whether a guided tour is actually worth the money. This guide is for first-time visitors and history buffs alike who want to get the most out of their time at the Colosseum, not just wander through. We’ll cover the key milestones, the architectural genius that made it last, the practical planning steps, and the common mistakes that first-timers make. Let’s get into it.

A Brief Timeline: Key Events in the Colosseum’s Story
Here’s the Colosseum’s story in digestible milestones. No fluff, just the facts that matter for a visitor.
- AD 70–72: Emperor Vespasian of the Flavian dynasty begins construction. The site was a drained lake in the grounds of Nero’s vast Golden House. The choice was political—returning prime real estate to the people.
- AD 80: Inaugurated by Vespasian’s son, Emperor Titus, with 100 days of games. Thousands of animals were killed, and mock naval battles (naumachiae) were staged in the flooded arena.
- AD 81–96: Additions under Domitian, who completed the upper tiers and, most crucially, built the hypogeum—the underground network of rooms and lifts.
- 2nd–4th centuries: Peak use for gladiatorial contests, animal hunts (venationes), and public executions. It was the entertainment hub of the empire, seating up to 50,000.
- 6th–7th centuries: Decline after the fall of the Western Roman Empire. The hypogeum fills with debris. The site is abandoned.
- 8th–18th centuries: Used as a quarry for building materials like travertine and marble. Much of the stone was used for St. Peter’s Basilica and other Roman palaces. It also served as a fortress for a time.
- 19th–20th centuries: Restoration and archaeological excavations begin. It becomes a major tourist attraction and is recognized as a UNESCO World Heritage site. Several major restorations have been carried out, including the cleaning of the facade and the reopening of the hypogeum.
That’s the skeleton. Now let’s see what makes it so durable.
Architecture Decoded: Design Choices That Made It Last
The Colosseum didn’t survive for nearly two millennia just by luck. The Romans were practical engineers who solved specific problems with design choices that still work today.
The Elliptical Shape: The floor plan is an ellipse (roughly 188 meters by 156 meters). This isn’t just for aesthetics. The optical curve allowed every spectator a clear, unobstructed view of the arena floor from any seat. It also accommodated maximum seating capacity within a manageable structural footprint.
The Vomitoria: There were 80 numbered entrance arches called vomitoria. This system was designed for rapid crowd movement. In a stadium seating 50,000, you could get everyone out in under 15 minutes. It’s the same principle used in modern stadiums. This was not just about convenience; it was about safety and crowd control.
Tiered Seating (Cavea): The seating was divided into three main tiers, strictly organized by social class. The best seats (the podium) were for senators and officials. The middle tiers for equestrians and wealthy citizens. The upper tiers (the summa cavea) for the plebs and slaves. This rigid social hierarchy was built into the architecture itself.
The Hypogeum: The underground complex was a multi-level network of rooms, cages, ramps, and mechanical lifts. It was an elaborate backstage area, hidden from the audience. It allowed for dramatic animal releases and set changes during performances. We will dive into this further in the next section.
The Velarium: A massive retractable awning made of canvas and linen ropes. It was operated by a dedicated crew of sailors who managed the complex system of ropes and pulleys. It provided shade to the spectators, a critical feature under the hot Roman sun.
Materials: The Colosseum was built with a combination of materials. The outer facade is travertine limestone, concrete for the core, tuff (a volcanic rock), and brick for the inner walls. The concrete, in particular, was a Roman innovation—a mix of lime, volcanic ash, and rubble that could harden underwater and was incredibly strong. This concrete core is a big reason why the structure still stands despite centuries of neglect and stone-robbing.
If you want to understand these engineering details further, a good book on Roman engineering is worth picking up. For now, know that every design element was a solution to a practical problem. It adds a layer of appreciation to your visit.

The Hypogeum: The Hidden Backstage of Roman Spectacles
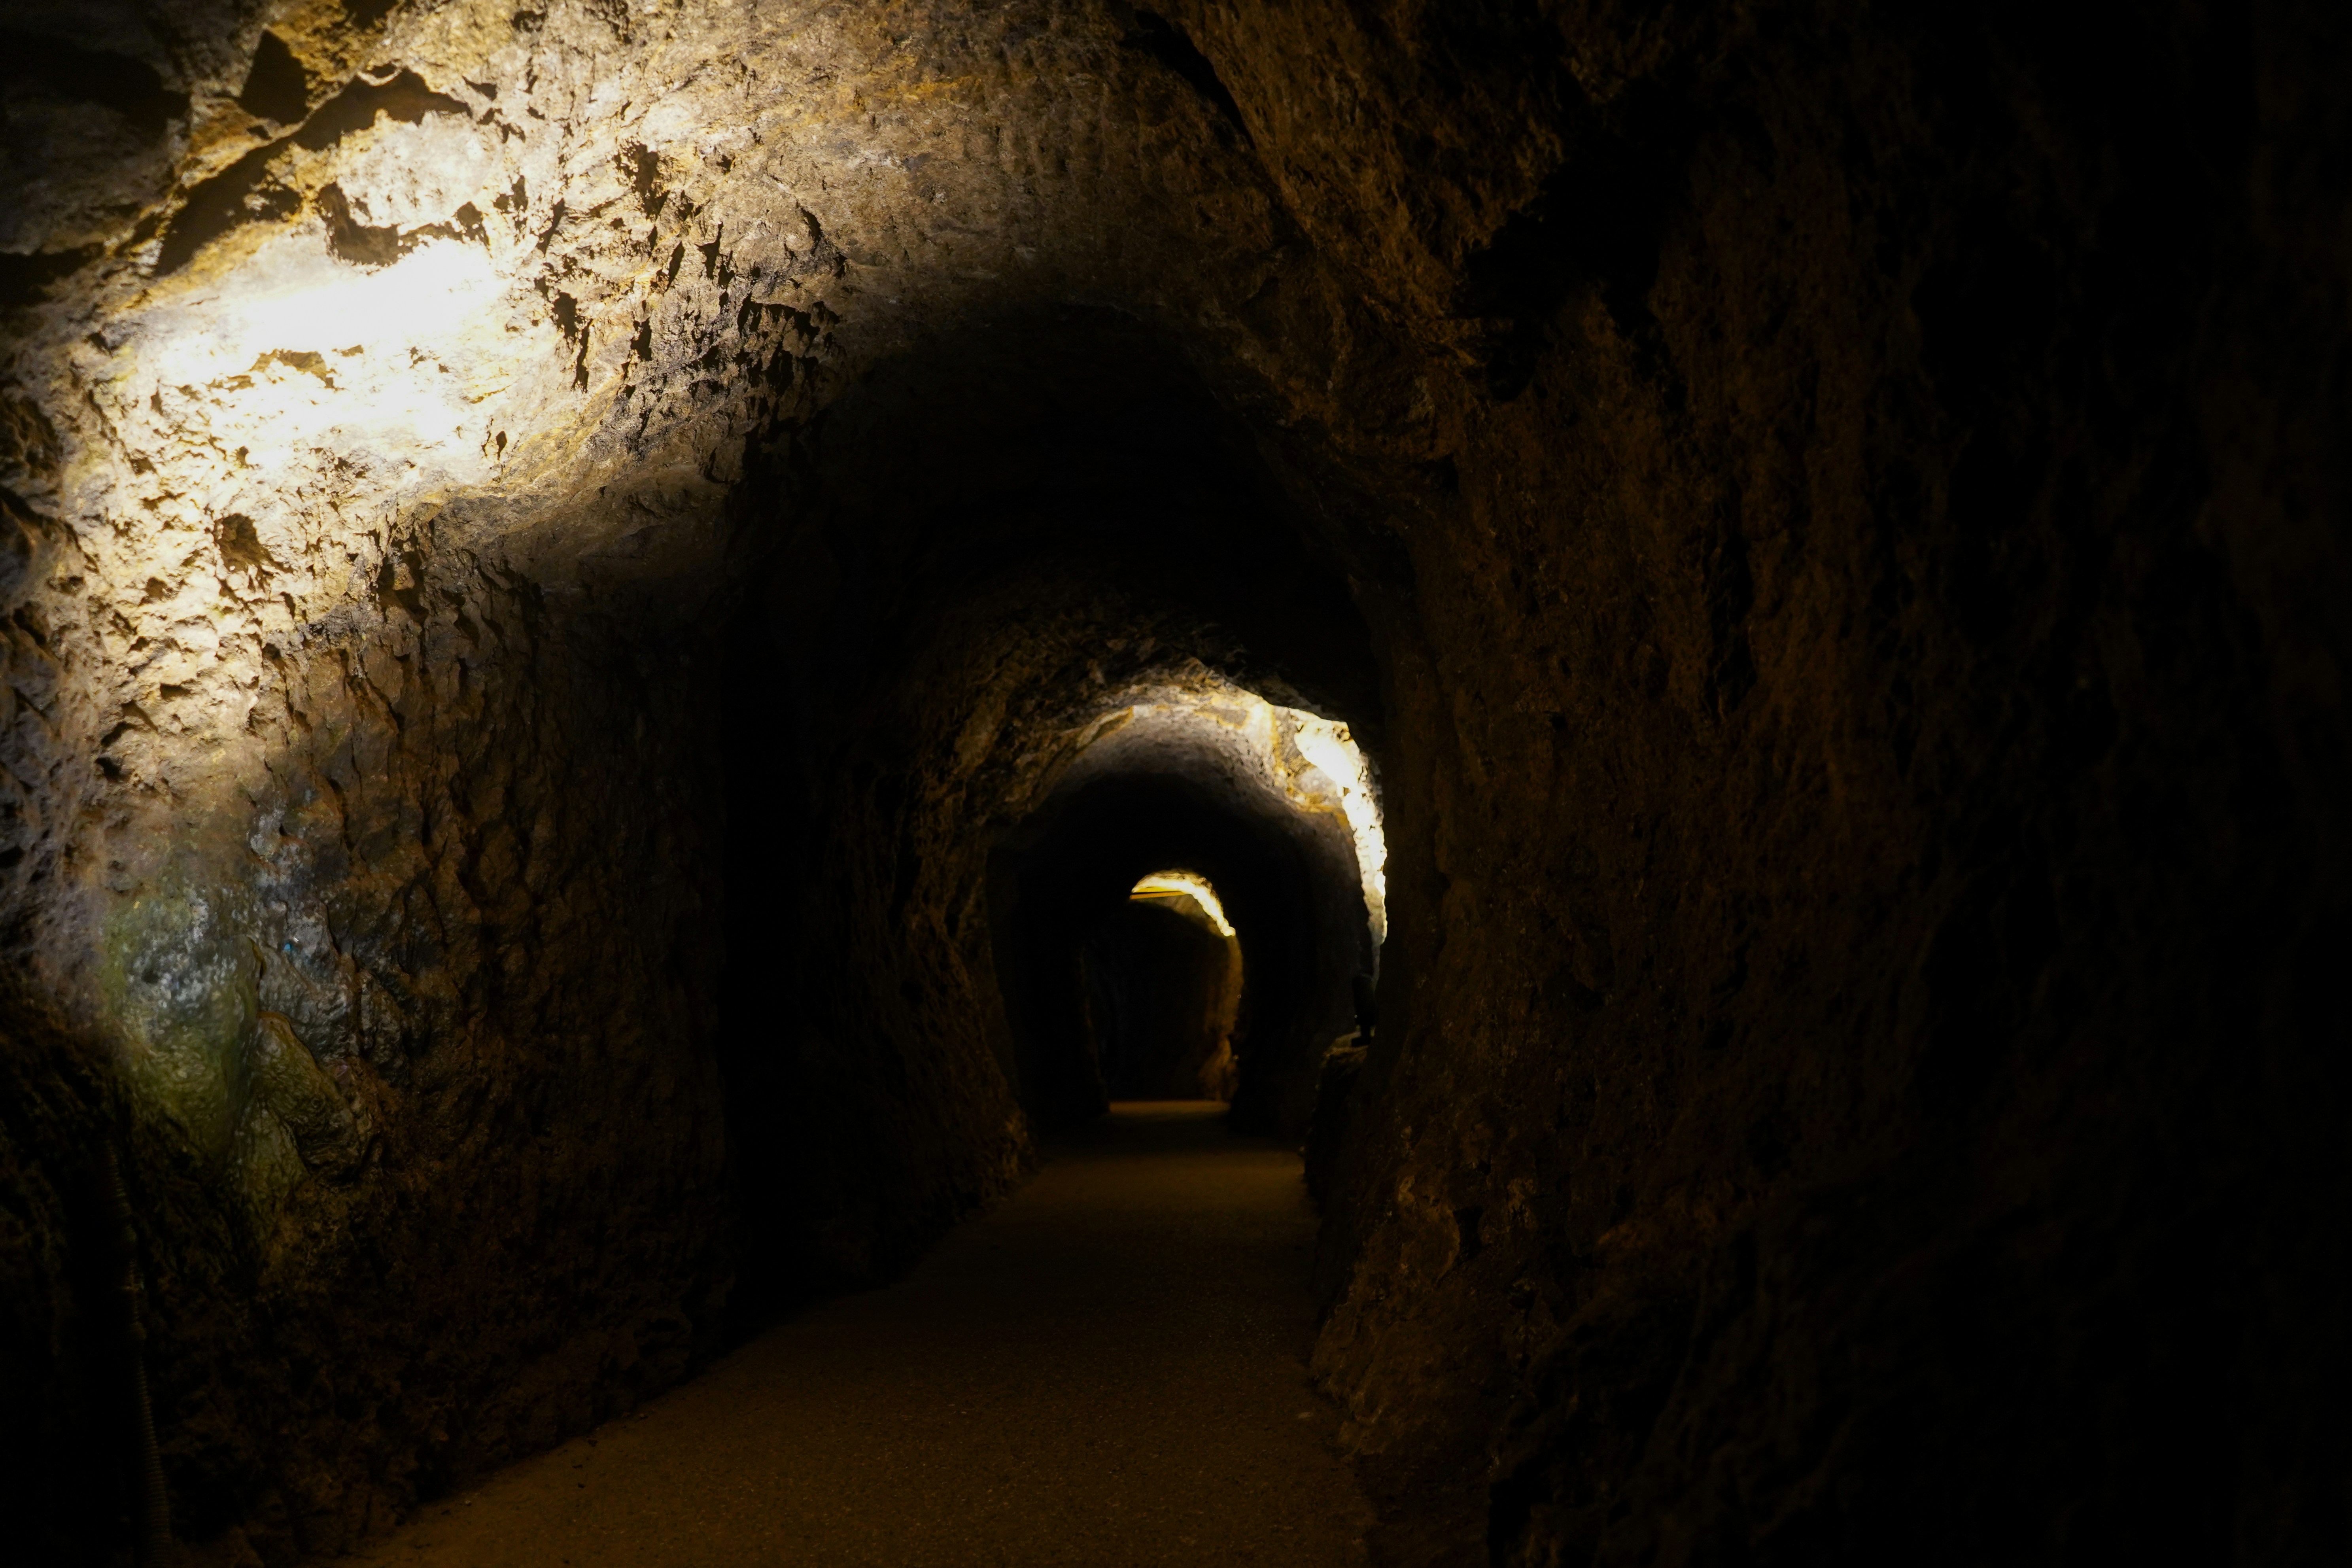
The hypogeum is, in my opinion, the most fascinating part of the Colosseum. It is the hidden world that made the show possible. It is a two-level underground structure roughly the size of the arena floor above it. It contained a complex system of ramps, pulleys, trapdoors, and elevator shafts that allowed animals, gladiators, and stage sets to appear almost magically in the arena above.
Cages for lions and bears were kept here. Gladiators prepared in small rooms. Trapdoors could be opened to release a large animal directly into the arena. The hypogeum was connected to a system of water channels that could flood the arena for the mock naval battles. It was a logistical marvel of cranes, counterweights, and mechanical winches, all operated by a skilled crew (the fossarii).
For the average visitor, the standard ticket does not give you access to the hypogeum. You need a specialized ‘Underground and Arena Floor’ tour. Is it worth the extra cost? Yes, if you are a history enthusiast or a curious traveler. You get to walk where the gladiators stood before combat and see the ancient machinery up close. For a casual visitor, the standard ticket is perfectly fine. If you fit the former, look for a tour that explicitly says ‘Underground’ or ‘Hypogeum’ access. That ticket will also typically include access to the arena floor and skip-the-line entry, making it a strong all-in-one option.
Ticket Types: Which Pass Is Best for Your Trip?
Choosing the right ticket is the most important planning decision you will make. Here is a breakdown of the main options.
- Standard Admission: Grants access to the Colosseum (first and second tiers) plus the Roman Forum and Palatine Hill. Cost: around €16. Best for: budget travelers who are comfortable using an audio guide or reading on their phone. You will queue at the entrance. Expect a 45-minute to 1.5-hour wait during peak season.
- Standard + Fast Track: Same as standard but skips the main entry line. Cost: about €20–25. Best for: travelers who value time over money. This is a solid choice for most people.
- Full Access (Underground + Arena Floor): Includes the hypogeum, the arena floor, and the upper tiers, plus the Forum and Palatine. Cost: around €35–50. Best for: history enthusiasts and first-time visitors who want the most comprehensive experience. This is a limited-availability ticket, so book well in advance. It is worth every euro for the insight into the hypogeum.
- Guided Tour (Small Group): A guided tour with a licensed archaeologist or historian. Cost: €40–70. Usually includes skip-the-line and often covers the hypogeum or arena floor. Best for: people who want deep context and a dedicated guide. It removes the need to research everything yourself.
- Combined Ticket (Colosseum + Forum + Palatine Hill): This is the standard ticket listed above. The key mistake many visitors make is not realizing that the Colosseum ticket automatically includes the Forum and Palatine. Do not buy them separately. It also includes entrance to the Palatine Museum and the Forum museum, which are small but very informative.
- Audio Guide: Available at the site for about €6. Good for self-guided visitors. However, the quality varies. I find that renting a handheld audio guide is fine, but reading on your phone works just as well. Some visitors prefer a digital guide you download in advance.
A word of caution: buy tickets only from the official CoopCulture website or a reputable ticket reseller (like GetYourGuide or Tiqets). Avoid random street sellers who overcharge and sell fake or overpriced tickets. Booking in advance is non-negotiable.
When to Visit for Fewer Crowds and Better Photos
Timing your visit makes a huge difference. The Colosseum is one of the most crowded tourist sites in the world.
Best Hours: Aim for the very first entry slot (usually 8:30 AM) or the last few hours before sunset (4:00–6:00 PM, depending on the season). The morning slot is the most peaceful. The late afternoon slot gives you golden-hour light for photography and a more relaxed mood.
Best Days: Midweek (Tuesday to Thursday) is generally less crowded than weekends. Avoid Mondays if possible.
Best Seasons: Spring (April to May) and Fall (September to October) offer pleasant weather and fewer crowds than summer. Summer is brutally hot and packed. Winter (November to February) has lower crowds and cheaper flights, but the days are short, and it can be cold and rainy.
The Tradeoff: The best time for photos (early morning or late afternoon) often means less light on the facade. A polarizing filter on your smartphone or camera helps cut down glare and brings out the stone details. Also, consider a night visit during the summer months when the Colosseum is open late. The experience is completely different—quiet, atmospheric, and with smaller crowds. The lighting on the arches is beautiful.
Five Common Mistakes First-Time Visitors Make
Learn from others’ errors. These are the most frequent pitfalls.
- Not Buying Tickets in Advance. The biggest mistake. You will waste 1–2 hours in the ticket line if you don’t pre-book. It costs the same, and it saves a ton of time. Always book online.
- Forgetting Your Ticket Includes the Forum and Palatine Hill. Many visitors miss the Roman Forum and Palatine Hill because they think it’s a separate cost. It is included in your standard Colosseum ticket. Do not skip them. They are equally fascinating and give you the full context of ancient Rome.
- Overlooking the On-Site Museum. There is a small museum (the Colosseo, Foro Romano, e Palatino Museum) located on the upper floor of the Colosseum. It has original artifacts, models, and displays that explain the history of the site. It is often empty. Do not skip it.
- Not Bringing Water or Sunscreen. There is almost no shade inside the Colosseum. In summer, it is a heat trap. You need to carry a water bottle (there are free water fountains inside) and wear a hat and sunscreen. You will be miserable without it.
- Rushing Through. A standard visit should take at least 1.5 to 2 hours. Many people try to do it in 45 minutes and miss half of it. Plan accordingly.
What to Bring and What to Leave Behind
This list is based on experience.
What to Bring:
- Comfortable walking shoes. The terrain around the Colosseum and Forum is uneven and slippery.
- A reusable water bottle. There are free water fountains (nasone) at the site.
- A hat and sunscreen. The sun is strong, especially from April to October.
- A small backpack or crossbody bag. Leave your large daypack at the hotel if possible.
- A smartphone for photos. You do not need a professional camera. The lighting is tricky, but modern phones handle it well.
- A lightweight daypack that packs flat. It will keep your hands free.
- A filtered water bottle to refill at the fountains.
What to Leave Behind:
- Large bags and suitcases. They are not allowed and must be checked in at a deposit on the other side of the site.
- Tripods and monopods. They are prohibited inside the Colosseum without a professional permit. Do not bring them.
- Drones. Drones are strictly banned over all of central Rome, including the Colosseum.
- Excessive valuables. Leave your laptop and expensive jewelry at the hotel. Pickpocketing is not rampant, but it happens in crowds.

Nearby Sights Worth Combining with Your Colosseum Visit
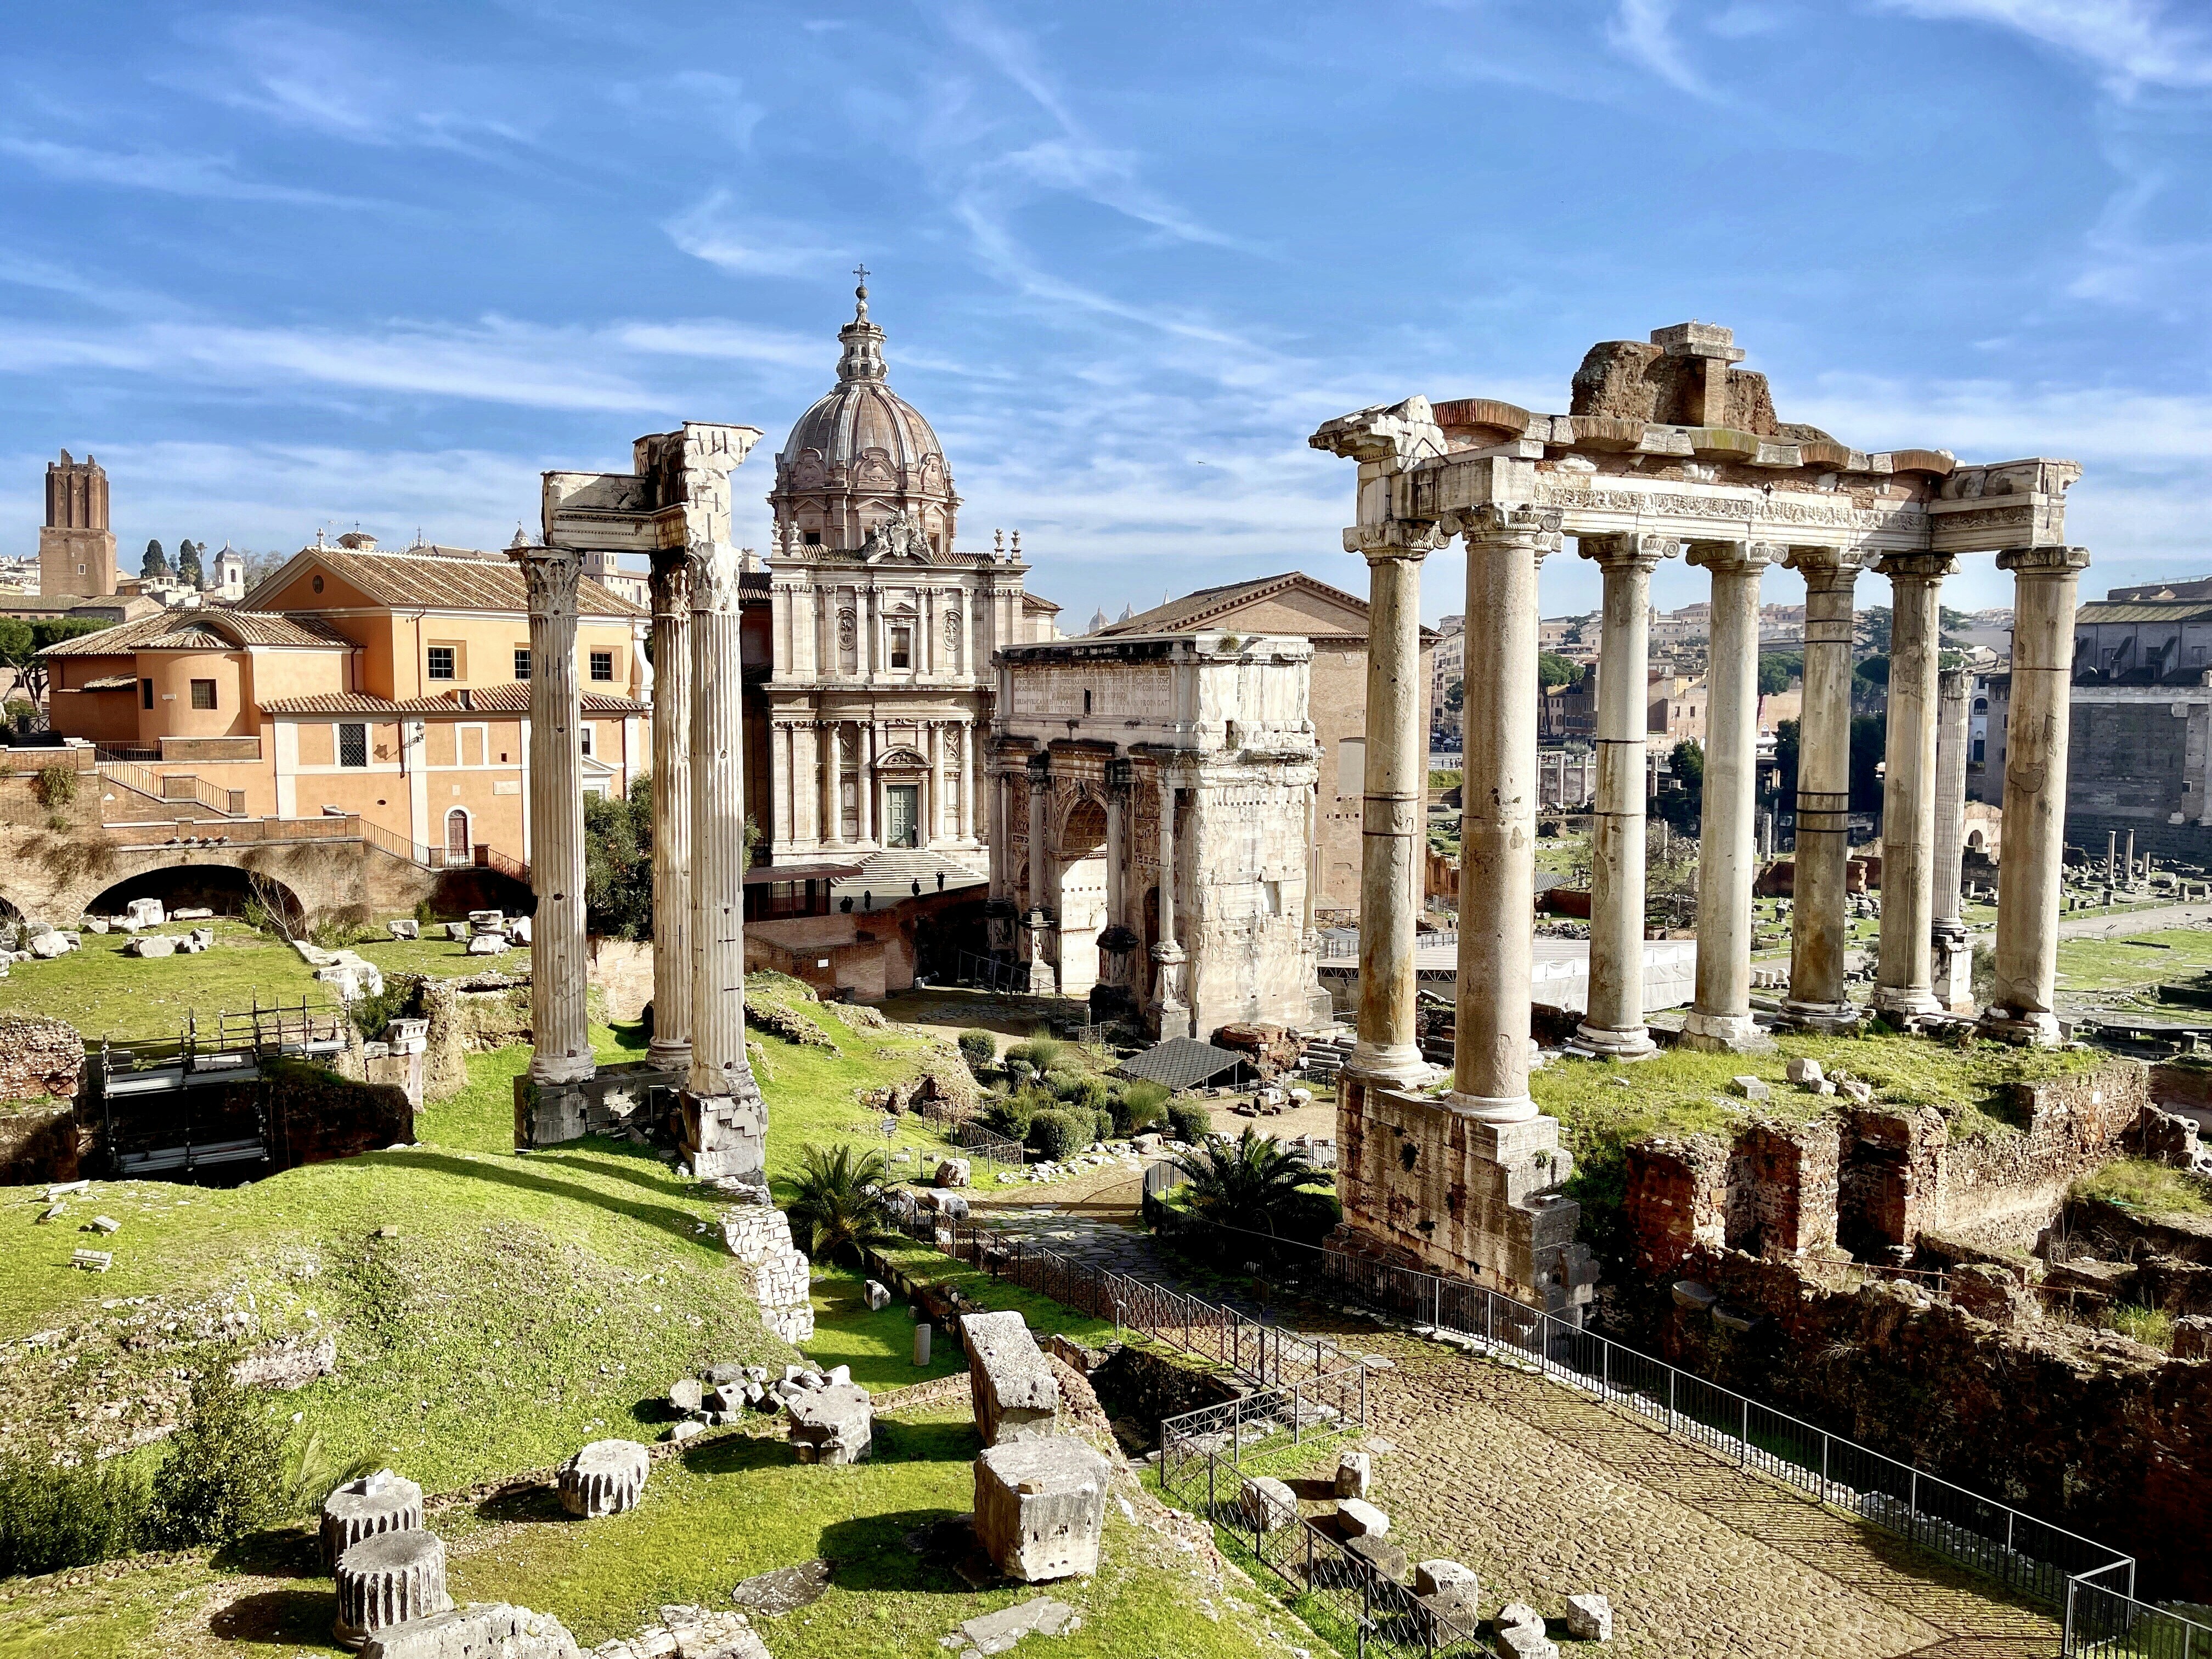
Your Colosseum ticket already includes the Roman Forum and Palatine Hill. Do not skip them. They are the heart of ancient Rome and contain the ruins of temples, markets, and the imperial palaces.
For a good half-day route, do this:
- Start at the Colosseum (early morning).
- Walk through the Arch of Constantine (adjacent to the Colosseum).
- Enter the Roman Forum (entrance is across from the Colosseum). Spend an hour exploring.
- Climb Palatine Hill for the best views of the Forum. Another 30–45 minutes.
- If you have time, visit the Basilica of San Clemente (10-minute walk). It is a fascinating multi-layered church that goes down to a 1st-century Roman house.
- Alternatively, the Mamertine Prison (near the Forum) is worth 15 minutes if you are interested in early Christian history.
The combined ticket covers all of the Forum and Palatine. You do not need to pay extra. If you want a deeper look, consider a small-group guided walking tour that covers the Colosseum, Forum, and Palatine in one go. It saves time and adds context.
Is a Guided Tour Worth the Extra Cost?
This depends entirely on your priorities. Here is the honest tradeoff.
Pros of a Guided Tour:
- You get deep historical context from a real expert.
- You get access to restricted areas like the hypogeum or the arena floor.
- You skip the lines, which saves serious time.
- You have a structured itinerary that maximizes your time.
Cons of a Guided Tour:
- It is significantly more expensive than a standard ticket.
- You lose flexibility. You follow the guide’s pace and schedule.
- The group can be large (often 20+ people). Small group tours are better but more expensive.
Best For:
- History enthusiasts and first-time visitors who want the full picture and do not mind the cost. A small-group ‘Gladiator’s Gate’ tour (which includes the arena floor) is an excellent choice if you want to stand where the gladiators fought.
- Budget travelers or time-pressed visitors should just buy a standard ticket with the audio guide. You will get 80% of the experience for a fraction of the cost.
- Families with children might find a kids-focused tour worthwhile to keep everyone engaged.
If you choose a tour, book it through a reputable platform like GetYourGuide or Viator. Avoid touts at the entrance.
Final Planning Checklist for Your Colosseum Visit
This is your quick-reference list to ensure a smooth visit.
- Buy tickets in advance. Do this at least a week ahead, especially for hypogeum tours.
- Choose your ticket type. Standard + fast track for most people; hypogeum tour for enthusiasts.
- Decide on guided or self-guided. Guided if you want deep context, self-guided if you want flexibility.
- Check weather. Bring water and sun protection in summer; wear layers in winter.
- Pack essentials. Water, hat, sunscreen, comfortable shoes, small backpack.
- Plan your route. Combine with Roman Forum and Palatine Hill. Allow 1.5–2 hours for the Colosseum alone.
- Arrive early or late. Avoid the midday crush.
That covers everything you need to know to make your Colosseum visit informed, efficient, and memorable. Go enjoy it.