Introduction
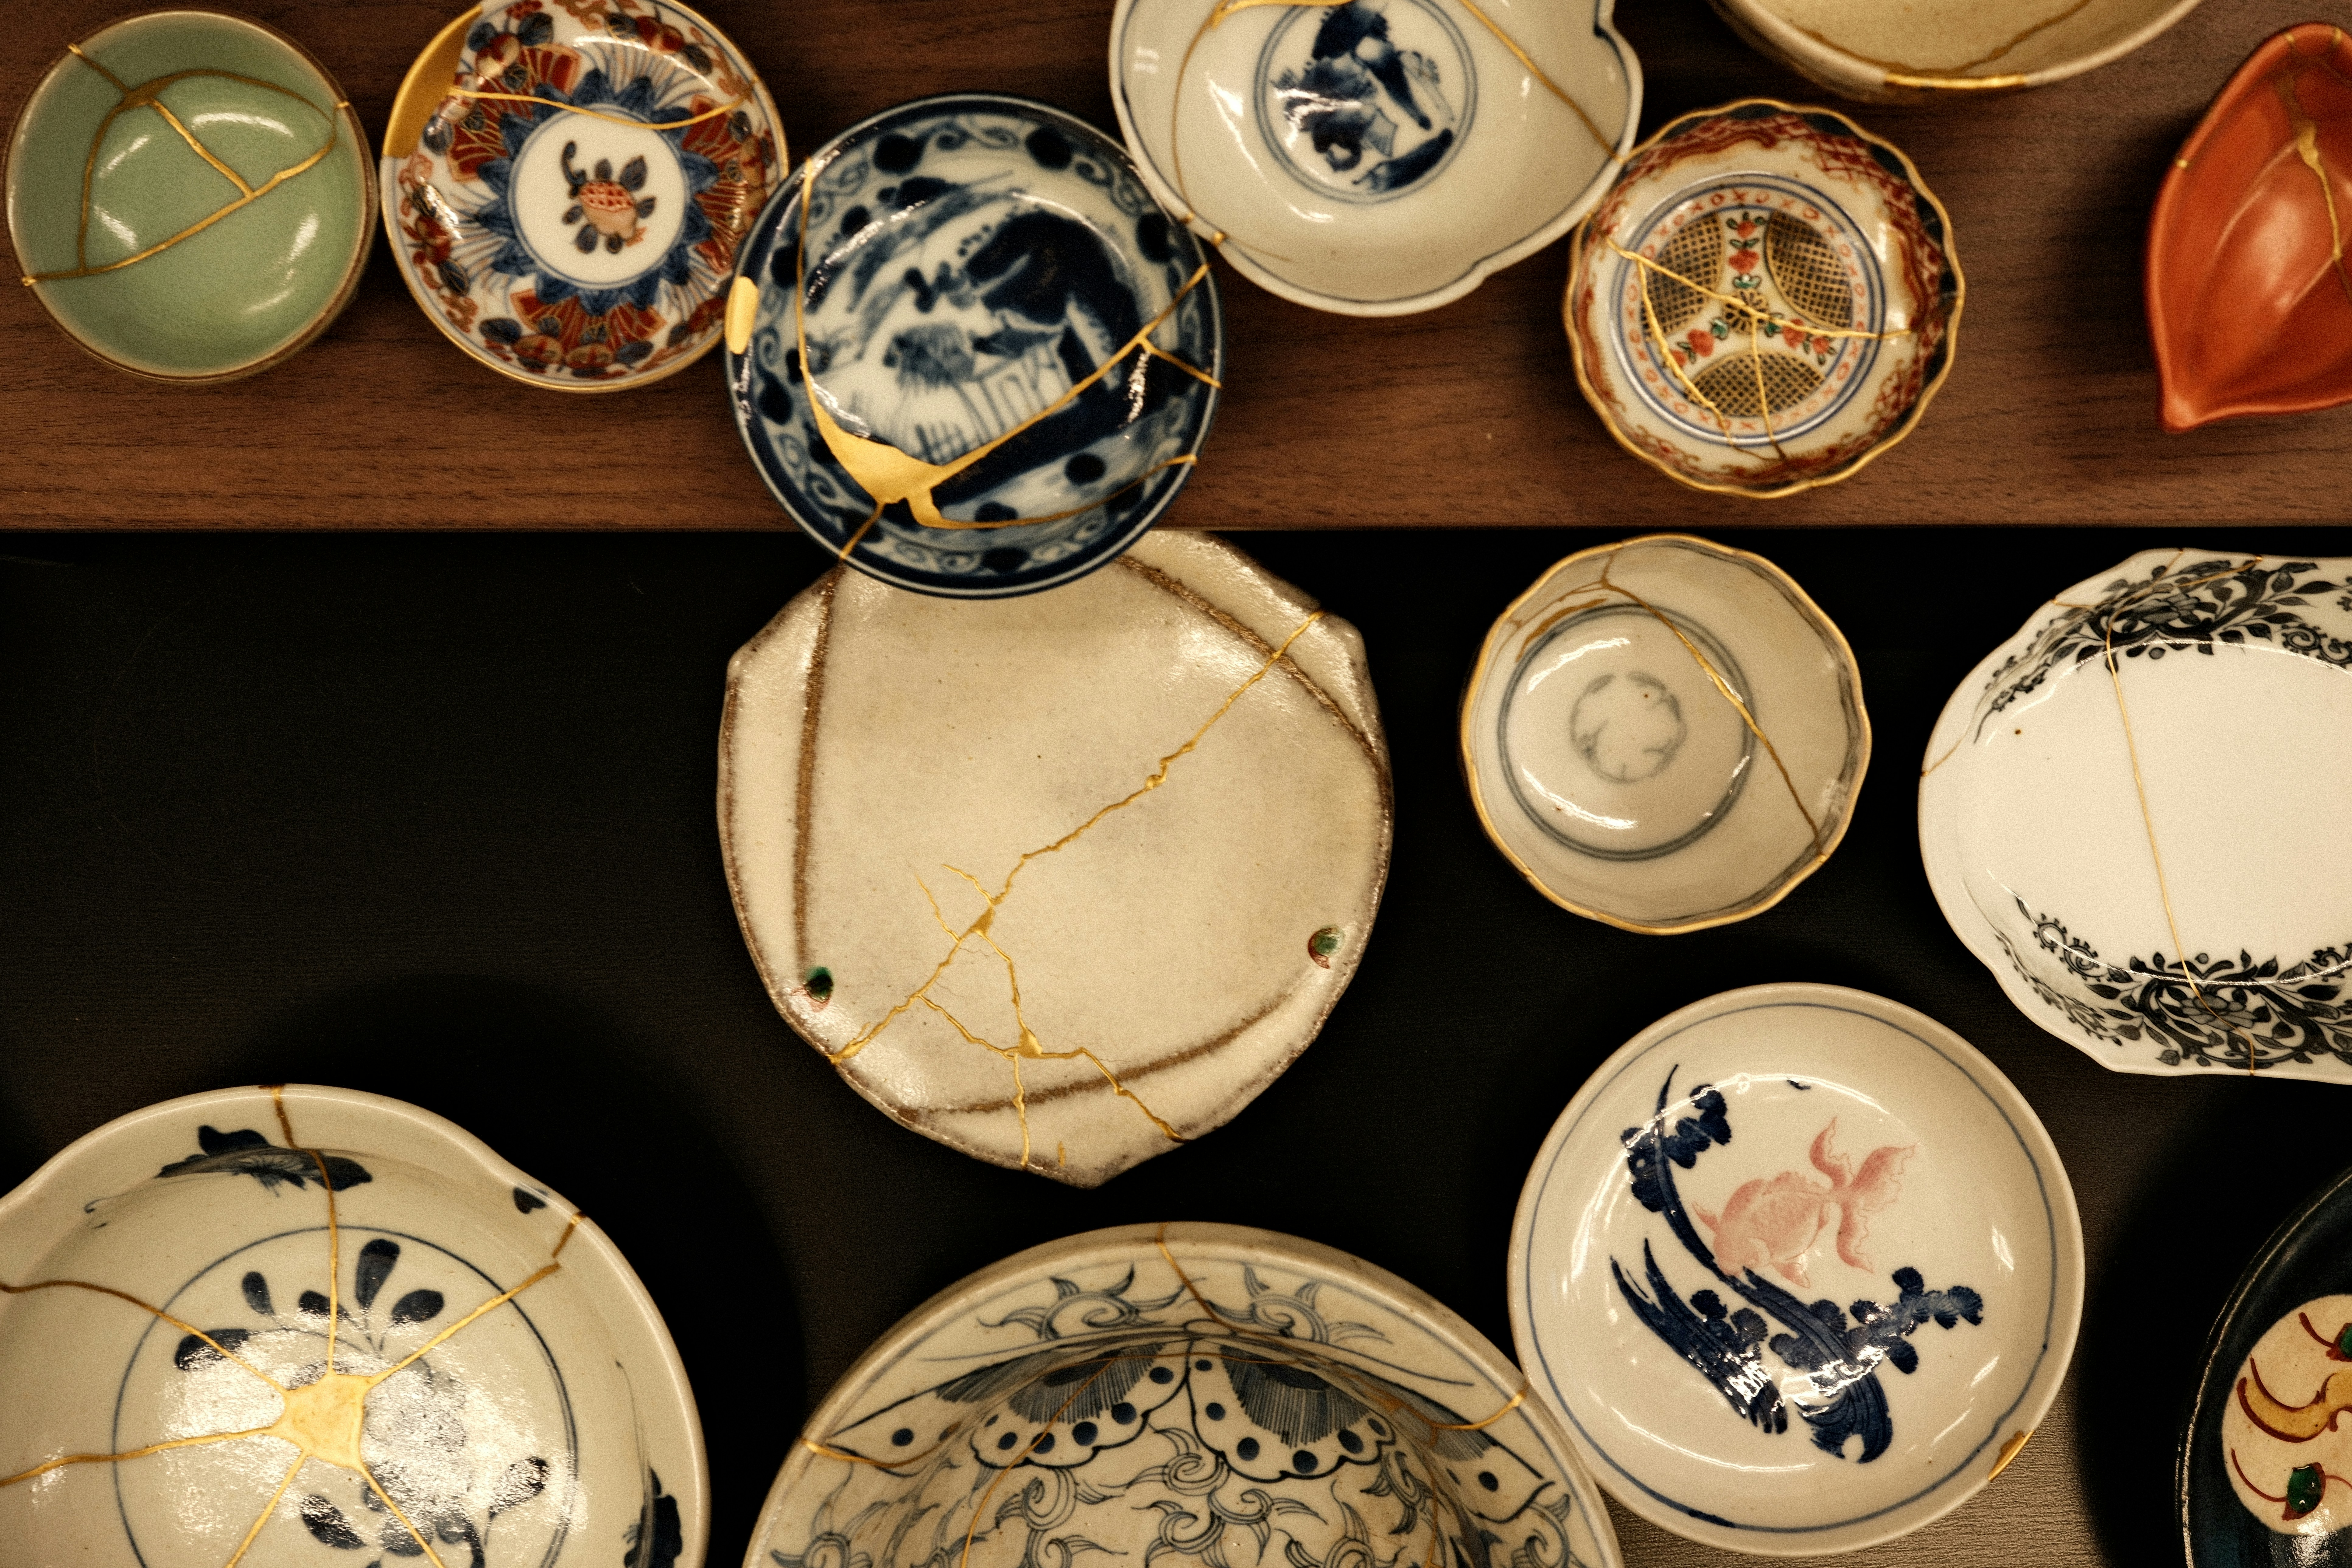
If you have a cherished ceramic bowl, a favorite teacup, or a decorative plate that has broken, you have a choice. You can throw it away, glue it back together with a barely visible line of super glue, or try something different: repair it using kintsugi, the Japanese art of repairing broken pottery with gold.
This approach doesn’t hide the damage—it highlights it. The crack becomes a golden seam, a visible part of the object’s history. This article is for DIYers, hobbyists, and anyone curious about learning a hands-on craft that is both sustainable and deeply satisfying. We’ll cover the tools and kits you actually need, the step-by-step process, common mistakes, and the trade-offs between traditional and modern methods. By the end, you’ll know exactly what to buy and what to expect on your first attempt.

What Is Kintsugi Japanese Repair Art? A Practical Overview
Kintsugi literally translates to ‘golden joinery.’ It’s a technique dating back to 15th-century Japan. The core idea is that a break is part of the object’s history, not something to hide. Traditional kintsugi uses a lacquer called urushi, derived from the sap of the urushi tree. This lacquer acts as a strong, waterproof adhesive. Once the pieces are joined and the lacquer has cured, a fine layer of gold powder is applied to the seam.
You should know that kintsugi isn’t a quick fix. A full traditional repair can take weeks due to the curing time of urushi, which requires specific humidity and temperature conditions. The result, however, is a durable finish that can last for generations.
Modern versions of kintsugi use epoxy-based adhesives mixed with gold-colored powder or paint. These are much faster, safer for beginners, and easier to source. They don’t replicate the exact look or durability of traditional methods, but they’re a fantastic entry point. This guide covers both paths so you can decide what fits your project and your patience level.
What You Actually Need: Kintsugi Supplies and Kits
The supplies you need depend on which path you take. Here’s a breakdown of the essentials for both traditional and modern methods, including what’s worth spending money on and what isn’t.
Traditional Kintsugi (Urushi) Supplies
- Urushi lacquer: The authentic adhesive. It comes in different grades. Ki-urushi (raw lacquer) is used for joining, while other grades are used for finishing.
- Gold powder (kinpun or makifun): Very fine gold dust. Different particle sizes create different textures.
- Togi-urushi: A mixture of urushi and stone powder used as a base layer.
- Brushes: A set of high-quality, fine-tipped brushes specifically for urushi work—not standard paintbrushes.
- Solvent: Turpentine or a specialized urushi thinner is required to clean your brushes and thin the lacquer.
- Respirator: Urushi is toxic in its liquid form and can cause severe skin rashes (urushiol-induced contact dermatitis). Wear gloves, long sleeves, and a respirator with organic vapor cartridges.
- Sanding paper: Very fine grit (1000 to 3000) to smooth the seam.
Modern Kintsugi (Epoxy) Supplies
- Two-part epoxy or epoxy putty: Your adhesive. Look for a clear-drying epoxy that bonds well to ceramic.
- Gold mica powder or gold-colored powder: Mix this into the epoxy or apply on top. You can also use gold-colored acrylic paint for a simpler finish.
- Fine brushes: A set of small, fine-tipped brushes for applying the adhesive and powder.
- Clamps or painter’s tape: To hold the pieces together while the epoxy cures.
- Sanding tools: A small set of files and fine-grit sandpaper (400 to 1200 grit) to clean up the seam.
- Mixing sticks and a palette: Toothpicks and a piece of cardboard work fine.
Best for Beginners: A Reliable Kit
For your first repair, I strongly recommend a modern kintsugi kit. It removes the guesswork and safety hazards. Look for one that includes a two-part epoxy, a small jar of gold powder, a mixing stick, and a brush. Avoid the cheapest kits on the market—they often use poor-quality gold powder that turns gray or flakes off. A mid-tier kit in the $30–$50 range is a good investment. You can also buy a small set of fine brushes separately for more control. If you want to try traditional urushi later, you’ll need a dedicated kit that includes all the lacquers, powders, and safety gear.
Step-by-Step: How to Perform a Basic Kintsugi Repair
This is a practical guide for a modern epoxy-based repair. The steps are similar for traditional urushi, but the wait times are dramatically longer.
Step 1: Clean and Dry the Pieces
Wash all broken pieces with warm, soapy water to remove any grease, dust, or old adhesive. Dry them completely. Grease is the enemy of adhesion, so don’t skip this.
Step 2: Sand the Edges (Optional but Recommended)
Lightly sand the mating edges with fine-grit sandpaper (400 grit). This creates a slightly rough surface that helps the epoxy grip. Don’t overdo it, or you’ll change the fit.
Step 3: Mix the Adhesive
Mix the two-part epoxy according to the manufacturer’s instructions. Use a small piece of cardboard or a plastic lid as your palette. Mix thoroughly until it’s a uniform color.
Step 4: Apply the Adhesive
Using a fine brush or toothpick, apply a very thin layer of epoxy to both edges of the break. Be precise—less is more. You’ll remove the excess later.
Step 5: Join the Pieces
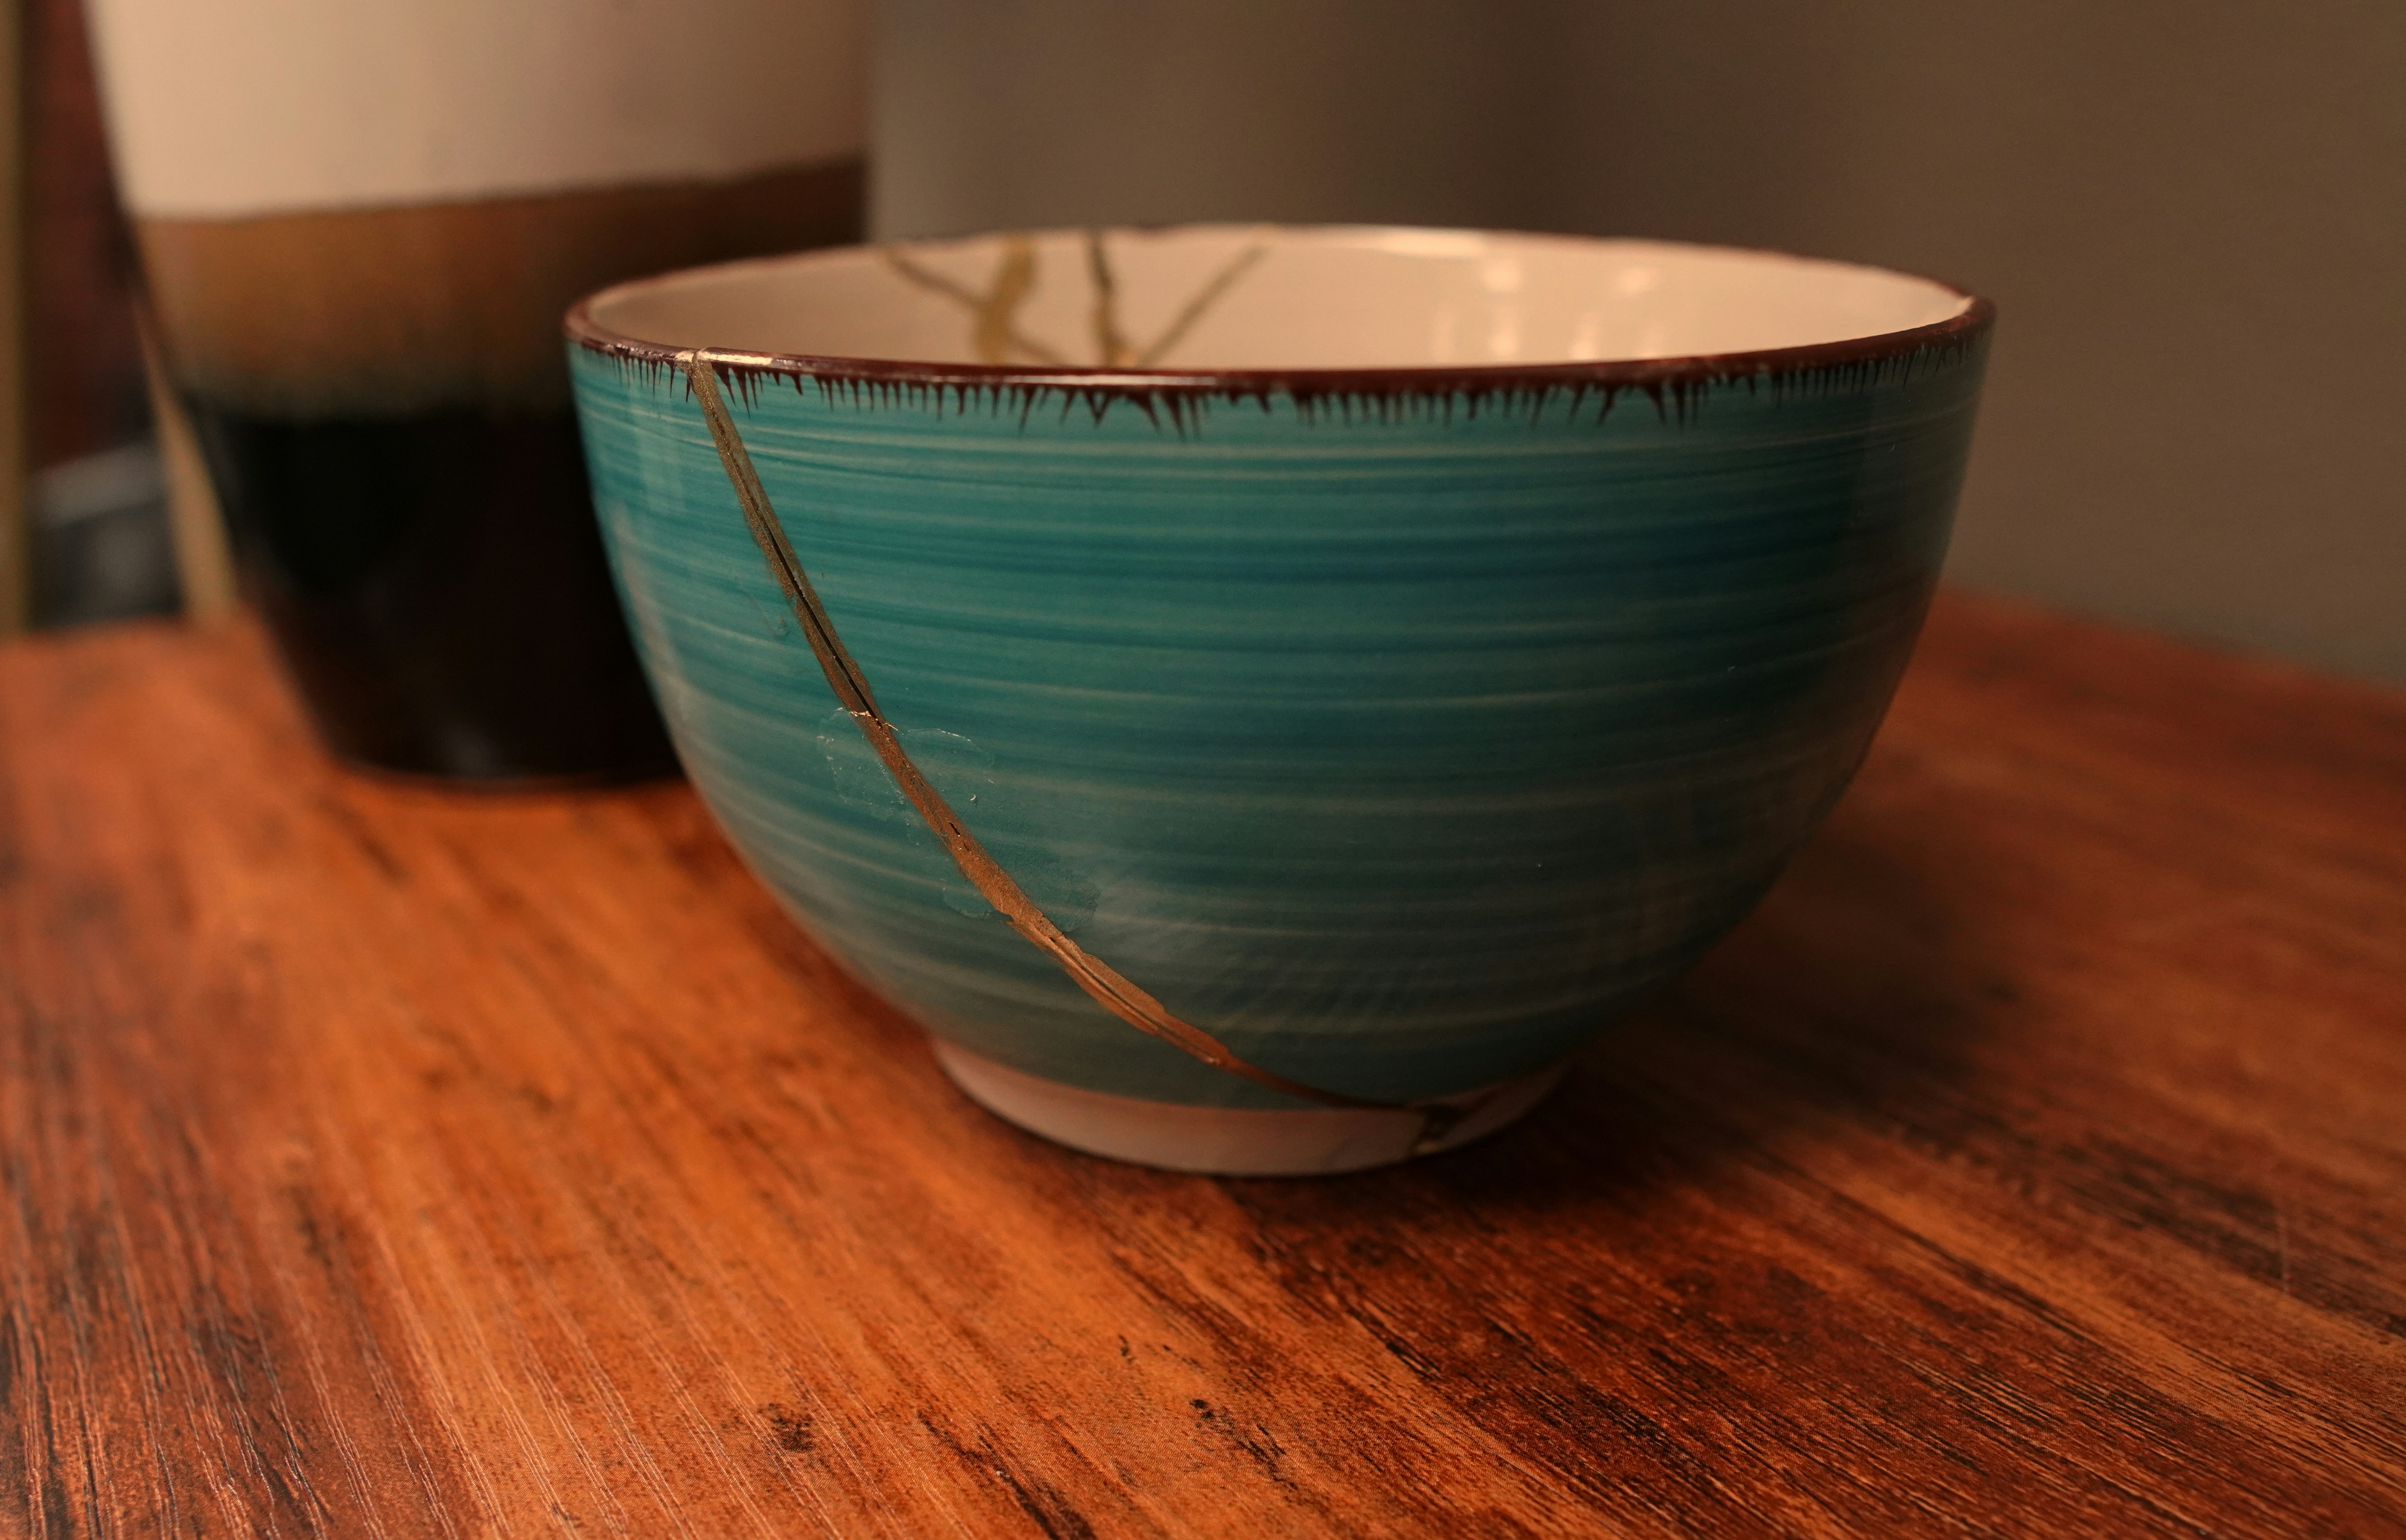
Press the pieces together gently. A small amount of epoxy will likely squeeze out, which is fine. Use painter’s tape, rubber bands, or small clamps to hold everything in place. This is the most critical moment—if the alignment is off, the repair won’t look good. Take your time.
Step 6: Remove Excess Adhesive
Before the epoxy sets, use a toothpick or small spatula to carefully remove any epoxy that has squeezed out along the seam. You can also use a dry brush to smooth it. This step makes sanding much easier later.
Step 7: Let It Cure
Patience is key here. Follow the cure time on the package—most epoxies require 24 to 48 hours before handling and 72 hours before sanding. Don’t rush this; moving the piece too soon weakens the joint.
Step 8: Sand the Cured Seam
Once the epoxy is fully hard, use fine-grit sandpaper (start with 600, then move to 1000 or 1200) to smooth the seam flush with the ceramic. Use a wet sanding technique (dip the paper in water) to reduce dust and get a smoother finish. Wipe the area clean after sanding.
Step 9: Apply the Gold
Mix a small amount of clear epoxy or a dedicated kintsugi adhesive with your gold powder to make a paste. Apply this over the sanded seam using a fine brush. Alternatively, apply a thin layer of clear epoxy to the seam and dust it with gold powder. Let it cure completely. This is what creates the golden line.

Kintsugi Kits vs Buying Individual Supplies: What’s Best for Beginners?
This is the first decision you need to make. Here’s the honest trade-off.
Kits: They’re convenient and cost-effective for a single repair. A good kintsugi kit for beginners includes the right amount of adhesive, gold powder, and a brush, removing the guesswork. However, many kits use low-quality gold powder that isn’t true gold mica—it can look dull or metallic and may not bond well. Still, a kit is an excellent way to test if you enjoy the process without a big investment.
Individual Supplies: This gives you full control. You can buy high-quality two-part epoxy from a hardware store and fine gold mica powder from a craft supplier, plus better brushes. The downside is that you have to research each item, and you’ll end up with more leftover materials than needed for a single repair. It’s also slightly more expensive upfront.
My recommendation for a first-timer: buy a mid-tier modern kit, like the Golden Repair Kit or similar. Then, add a separate brush set with very fine tips. You’ll have everything in one package and a better tool for precision. Later, if you want to do more repairs, buy higher-quality powder and adhesive individually.
Common Kintsugi Mistakes Beginners Make (And How to Avoid Them)
Here are the most common errors people make on their first kintsugi project. Avoid these, and your repair will turn out much better.
- Using super glue (cyanoacrylate). It yellows over time, is brittle, and difficult to sand. The seam will look like a yellow line under the gold. Use a two-part epoxy for ceramic instead.
- Not cleaning the pieces thoroughly. Any trace of grease, oil, or old glue prevents the epoxy from bonding. The joint will fail. Use warm soapy water and rinse well.
- Rushing the cure time. Epoxy needs time to reach full strength. If you try to sand or move the piece after 12 hours, you risk breaking the joint. Wait the full 72 hours when possible.
- Using too much gold powder. It’s expensive and messy. You don’t need a thick layer—a thin, even coat looks better and wastes less. Mix it into the adhesive lightly.
- Working with real urushi without protective gear. Urushi can cause a severe allergic skin reaction called urushiol-induced contact dermatitis, the same compound found in poison ivy. Wear gloves, long sleeves, and a respirator. If you’re prone to skin issues, stick with modern epoxy.
- Skipping the sanding step. If you don’t sand the cured adhesive flush with the ceramic, the gold line will be raised and rough. Sanding ensures a clean, professional finish.
- Expecting perfection. Your first repair won’t look like a master artisan’s work. The line might be uneven, or the color might be off—that’s part of the learning process. Kintsugi is about the beauty of the repair, not making it invisible. Accept the imperfection.
Traditional Kintsugi (Urushi) vs Modern Kintsugi (Epoxy): Which Should You Choose?
This decision depends on your project’s importance and your tolerance for waiting.
Traditional Kintsugi (Urushi)
- Pros: Authentic to the historical art. Produces a deep, lustrous gold line that’s beautiful and durable. Properly cured urushi is food-safe and waterproof. The result can last for decades or centuries.
- Cons: Toxic and requires safety gear. Takes weeks (or months) because each layer of lacquer must cure in a humid environment. Expensive to buy all the supplies.
- Best for: An heirloom piece you want to preserve for future generations. A decorative item you’re willing to invest time and care into.
Modern Kintsugi (Epoxy)
- Pros: Safe, fast, and much easier to learn. Epoxy cures in 24–72 hours. Supplies are widely available and relatively cheap. You can achieve a nice metallic look on your first try.
- Cons: The gold line may not have the same depth or luster as real gold powder on urushi. It’s not food-safe (unless you use a specific food-safe resin) and may yellow over time.
- Best for: A weekend project. A decorative item you want to fix quickly. A first try to see if you enjoy the craft.
If you want an authentic experience and can wait, go traditional. If you want a safe weekend project with quick results, go modern. Most hobbyists start with modern and upgrade later if they want more depth.
Where to Find Kintsugi Workshops and Online Courses
You can learn a lot from online videos and tutorials. YouTube is a fantastic free resource—channels like Kintsugi Art Studio offer detailed step-by-step guides for both traditional and modern methods. Watching someone work through a repair in real time is incredibly helpful.
Skillshare and Udemy offer structured online courses covering the philosophy, tools, and techniques in more depth. If you prefer reading, several high-quality books on the subject include detailed photographs of each step.
If you live in a major city like New York, Los Angeles, London, or Tokyo, you may find in-person workshops. A workshop is the best way to learn, as you can see techniques up close and ask questions in real time. In Japan, multi-day courses offer deep immersion into traditional urushi work. A single weekend workshop is enough to get you started and build your confidence.
Kintsugi on Different Materials: Ceramics, Glass, and Pottery
Traditional kintsugi works best on glazed ceramics and pottery. The non-porous surface allows the adhesive to bond well. Unglazed ceramics, like rough terracotta, are more difficult because the adhesive soaks in and may not hold as strongly.
You can adapt kintsugi for glass, but it requires a stronger adhesive. Use a two-part epoxy specifically designed for glass, and sand the edges very gently to avoid visible scratches. The repair will hold, but the gold line might look slightly different due to the material’s transparency.
Avoid using kintsugi on items that will hold hot liquids or be microwaved. The adhesive (especially modern epoxy) isn’t heat-resistant—high heat can weaken the joint or release fumes. Stick to decorative items or those used for room-temperature dry goods.
One practical tip: if you’re unsure whether a material will bond well, test the adhesive on a hidden spot (like the unglazed foot of a pottery bowl). Let it cure, then try to pull it off. If it holds solidly, you’re good to go.
How to Care for and Display Kintsugi Repaired Items
Once your repair is finished, proper care ensures it lasts. Hand wash the item only—don’t put it in the dishwasher. Harsh detergents and high heat can degrade the epoxy or gold layer. Use a soft sponge and mild soap, avoiding abrasive scrubbers that can scratch the gold finish.
Don’t soak the item in water for long periods, as this can weaken the bond over time, especially with modern epoxy. Keep it away from direct heat sources like stovetops, ovens, or radiators.
Display the item where the golden seam is visible—that’s the entire point of kintsugi. Place it on a shelf, in a cabinet, or on a windowsill where light catches the gold. The repair adds character and tells a story.
The gold powder can wear off after years of use. If that happens, you can re-apply a thin layer of gold powder or gold-colored paint over the original seam. I’ve seen kintsugi repairs last decades with proper care, and they continue to look beautiful as they age.
Is Kintsugi Food-Safe? What You Need to Know
This is a common question, and the answer isn’t straightforward. Traditional urushi, after fully curing (which can take weeks at proper humidity), is generally considered food-safe. It forms a hard, inert, waterproof surface. However, it’s not safe for acidic foods like citrus or vinegar for extended periods.
Modern epoxy kits are almost never food-safe—they’re designed for decorative use. If you use them on a plate or bowl, don’t serve food on that surface. The gold powder can also contain metals not meant for consumption.
If you want to repair a ceramic item for food use, your best option is a dedicated food-safe urushi kit. Follow the manufacturer’s curing instructions precisely. The wait is long, but the result is a safe, functional piece. Otherwise, treat any kintsugi repair as decorative and use the item for storage or display only.

Frequently Asked Questions About Kintsugi Japanese Repair Art
How long does a kintsugi repair take? A modern epoxy repair takes 2 to 5 days from start to finish, mostly waiting for the epoxy to cure. A traditional urushi repair can take 1 to 4 weeks or longer.
Is kintsugi expensive? Modern kits start around $30. A good quality kit is between $50 and $100. Traditional supplies are more expensive, especially real gold powder. For a single repair, a modern kit is the most cost-effective option.
Can I repair anything with kintsugi? It works best on non-porous materials like glazed ceramics, porcelain, and glass. Avoid using it on unglazed, porous items or those exposed to high heat.
Does kintsugi work on cracks without missing pieces? Yes. If the item is cracked but not broken into separate pieces, carefully brush the adhesive into the crack, let it cure, then apply the gold. The process is similar but requires more precision to avoid getting adhesive on the surface.
Can I use 23K gold leaf instead of gold powder? Yes, but it’s more difficult for beginners. Gold leaf is very thin and fragile—it tears easily and can leave a messy, uneven finish. Gold powder is much easier to work with and still looks beautiful.
Do I need special brushes for kintsugi? For a good result, yes. Fine-tipped brushes made for lacquer or miniature painting are best—they hold the adhesive well and give you control. You can use a cheap detail brush from an art store, but a dedicated brush set makes a noticeable difference.
Final Thoughts: Should You Try Kintsugi?
Kintsugi is for anyone who has a broken ceramic piece they love and a few hours of patience. It’s not a quick fix, nor is it for people who need a perfect, invisible repair. But if you enjoy hands-on work and want to transform a break into a story, it’s a genuinely rewarding craft.
Your first repair will have flaws—that’s expected. But that golden line, however imperfect, becomes a part of the object’s history. If you’re ready, pick up a beginner kit, watch a few tutorials, and try it. The worst that happens is you learn something. The best that happens is you save a cherished item and gain a new skill.